Oh, hi!
This is a blog post about the things I stumbled upon when I thought I’ll give OpenBSD a go. Therefore, this post is going to sound more like a walkthrough than an ordinary blog post.
The reason why I decided to try it out was primarily for the learning experience, and to use it as a hobby OS- something you boot up every once in a while when you want to slow down and relax a bit. Moreover, I also wanted to see why many people love and endorse OpenBSD, and wanted to see if it is my cup of tea.
For those who are not much into the history of UNIX and operating systems, OpenBSD is a UNIX-like operating system based on the Berkeley Software Distribution (BSD). A very talented person named Theo de Raadt created OpenBSD in 1995 by forking NetBSD- which is another UNIX-like operating system. On a macroscopic level, all BSDs are pretty much the same: complete (more than just the kernel, unlike Linux), open-source, secure and very well-trusted.
Installation
I backed my data up (even though Linus Torvalds has told us that- “Real men don’t use backups, they post their stuff on a public FTP server and let the rest of the world make copies”) and downloaded the ISO image from their website. To be precise, the one which has all the file sets in it.
The idea of filesets comes down to the founding principles of BSDs and UNIX: freedom. You can actually install just the kernel, compile and configure everything to the top, exactly as you prefer, like you do in Linux From Scratch. This is clearly not for the ones who are just starting out, so I got the ISO image which has everything: manual pages, X11 (the windowing system/display servers), fonts and everything you expect in a modern operating system.
Of course, I wasn’t intending to wipe my hard drive and go all in. And that was a problem: Almost all of the installation guides out there went for a full-disk installation and hence skipped the part where they set up the disks.
I guess, if I really want to give OpenBSD a go, I think I have to find a guide where they install it on a single partition, compared to the usual, default (messy, I'd say, but secure- yes) way the partitions are done.
— aswin c ☯️ (@chandanaveli) December 15, 2021
Plus, the fdisk equivalent tool looks terrifying to me.
Luckily, I found out a YouTube video from ‘The OpenBSD Guy’ which seemed to have what I wanted:
Being a long-time (almost two years) and a proud user of Arch Linux, I found the installation process fairly straightforward until it got into the disk setup. Firstly, it asks you the basics: time zones, user information, network interfaces, and finally, it gets into disks.
The disk setup is tricky- you really can mess everything up by the press of a button. What I had to do was to format the existing partition as an OpenBSD partition and choose that as the place to install it. Thanks to Chapter 4 of the video from The OpenBSD Guy, I could cross this chasm that I almost dared not to.
Booting up
I was aiming at dual-booting (triple booting, to be precise) Arch Linux and OpenBSD through GRUB. This is indeed possible and is what The OpenBSD Guy demonstrates in the video, and is also fairly straightforward as you’d expect: you edit a particular GRUB configuration file, recompile it, and you reboot- similar to what you do when you want to change the kernel parameters on Linux. But in my case, the chain loader spit out some errors during the compilation, and I couldn’t completely figure out why. I believe it was something to do with GRUB not being able to figure out the type of the disk partition.
In the end, I settled with booting OpenBSD from the UEFI boot menu:
I finally joined the OpenBSD gang today.
— aswin c! ☯️ (@chandanaveli) January 1, 2022
Couldn't set up GRUB to dualboot properly, so I just used efibootmgr and booted it from the UEFI menu.
The view looks ancient (ew) and I have probably have to find a guide to set up things.
A good start for 2022, I guess.
More later!
This was also the time I learned about efibootmgr- which is a tool with which one can manage UEFI boot entries. With efibootmgr, I just had to run:
# /dev/sda5 was where I installed OpenBSD
$ sudo efibootmgr -c -p 1 -d /dev/sda5 -L OpenBSD -l /EFI/Boot/bootx64.efi

# set timeout to 10 seconds
$ sudo efibootmgr -t 10
BootCurrent: 0000
Timeout: 10 seconds
BootOrder: 0000,0002,0001
Boot0000* linux
Boot0001* OpenBSD
Boot0002* Windows Boot Manager
Boot0007* windows
Boot0008* Diskette Drive
Boot0009* Internal HDD
Boot000A* USB Storage Device
Boot000B* CD/DVD/CD-RW Drive
Boot000C* Onboard NIC
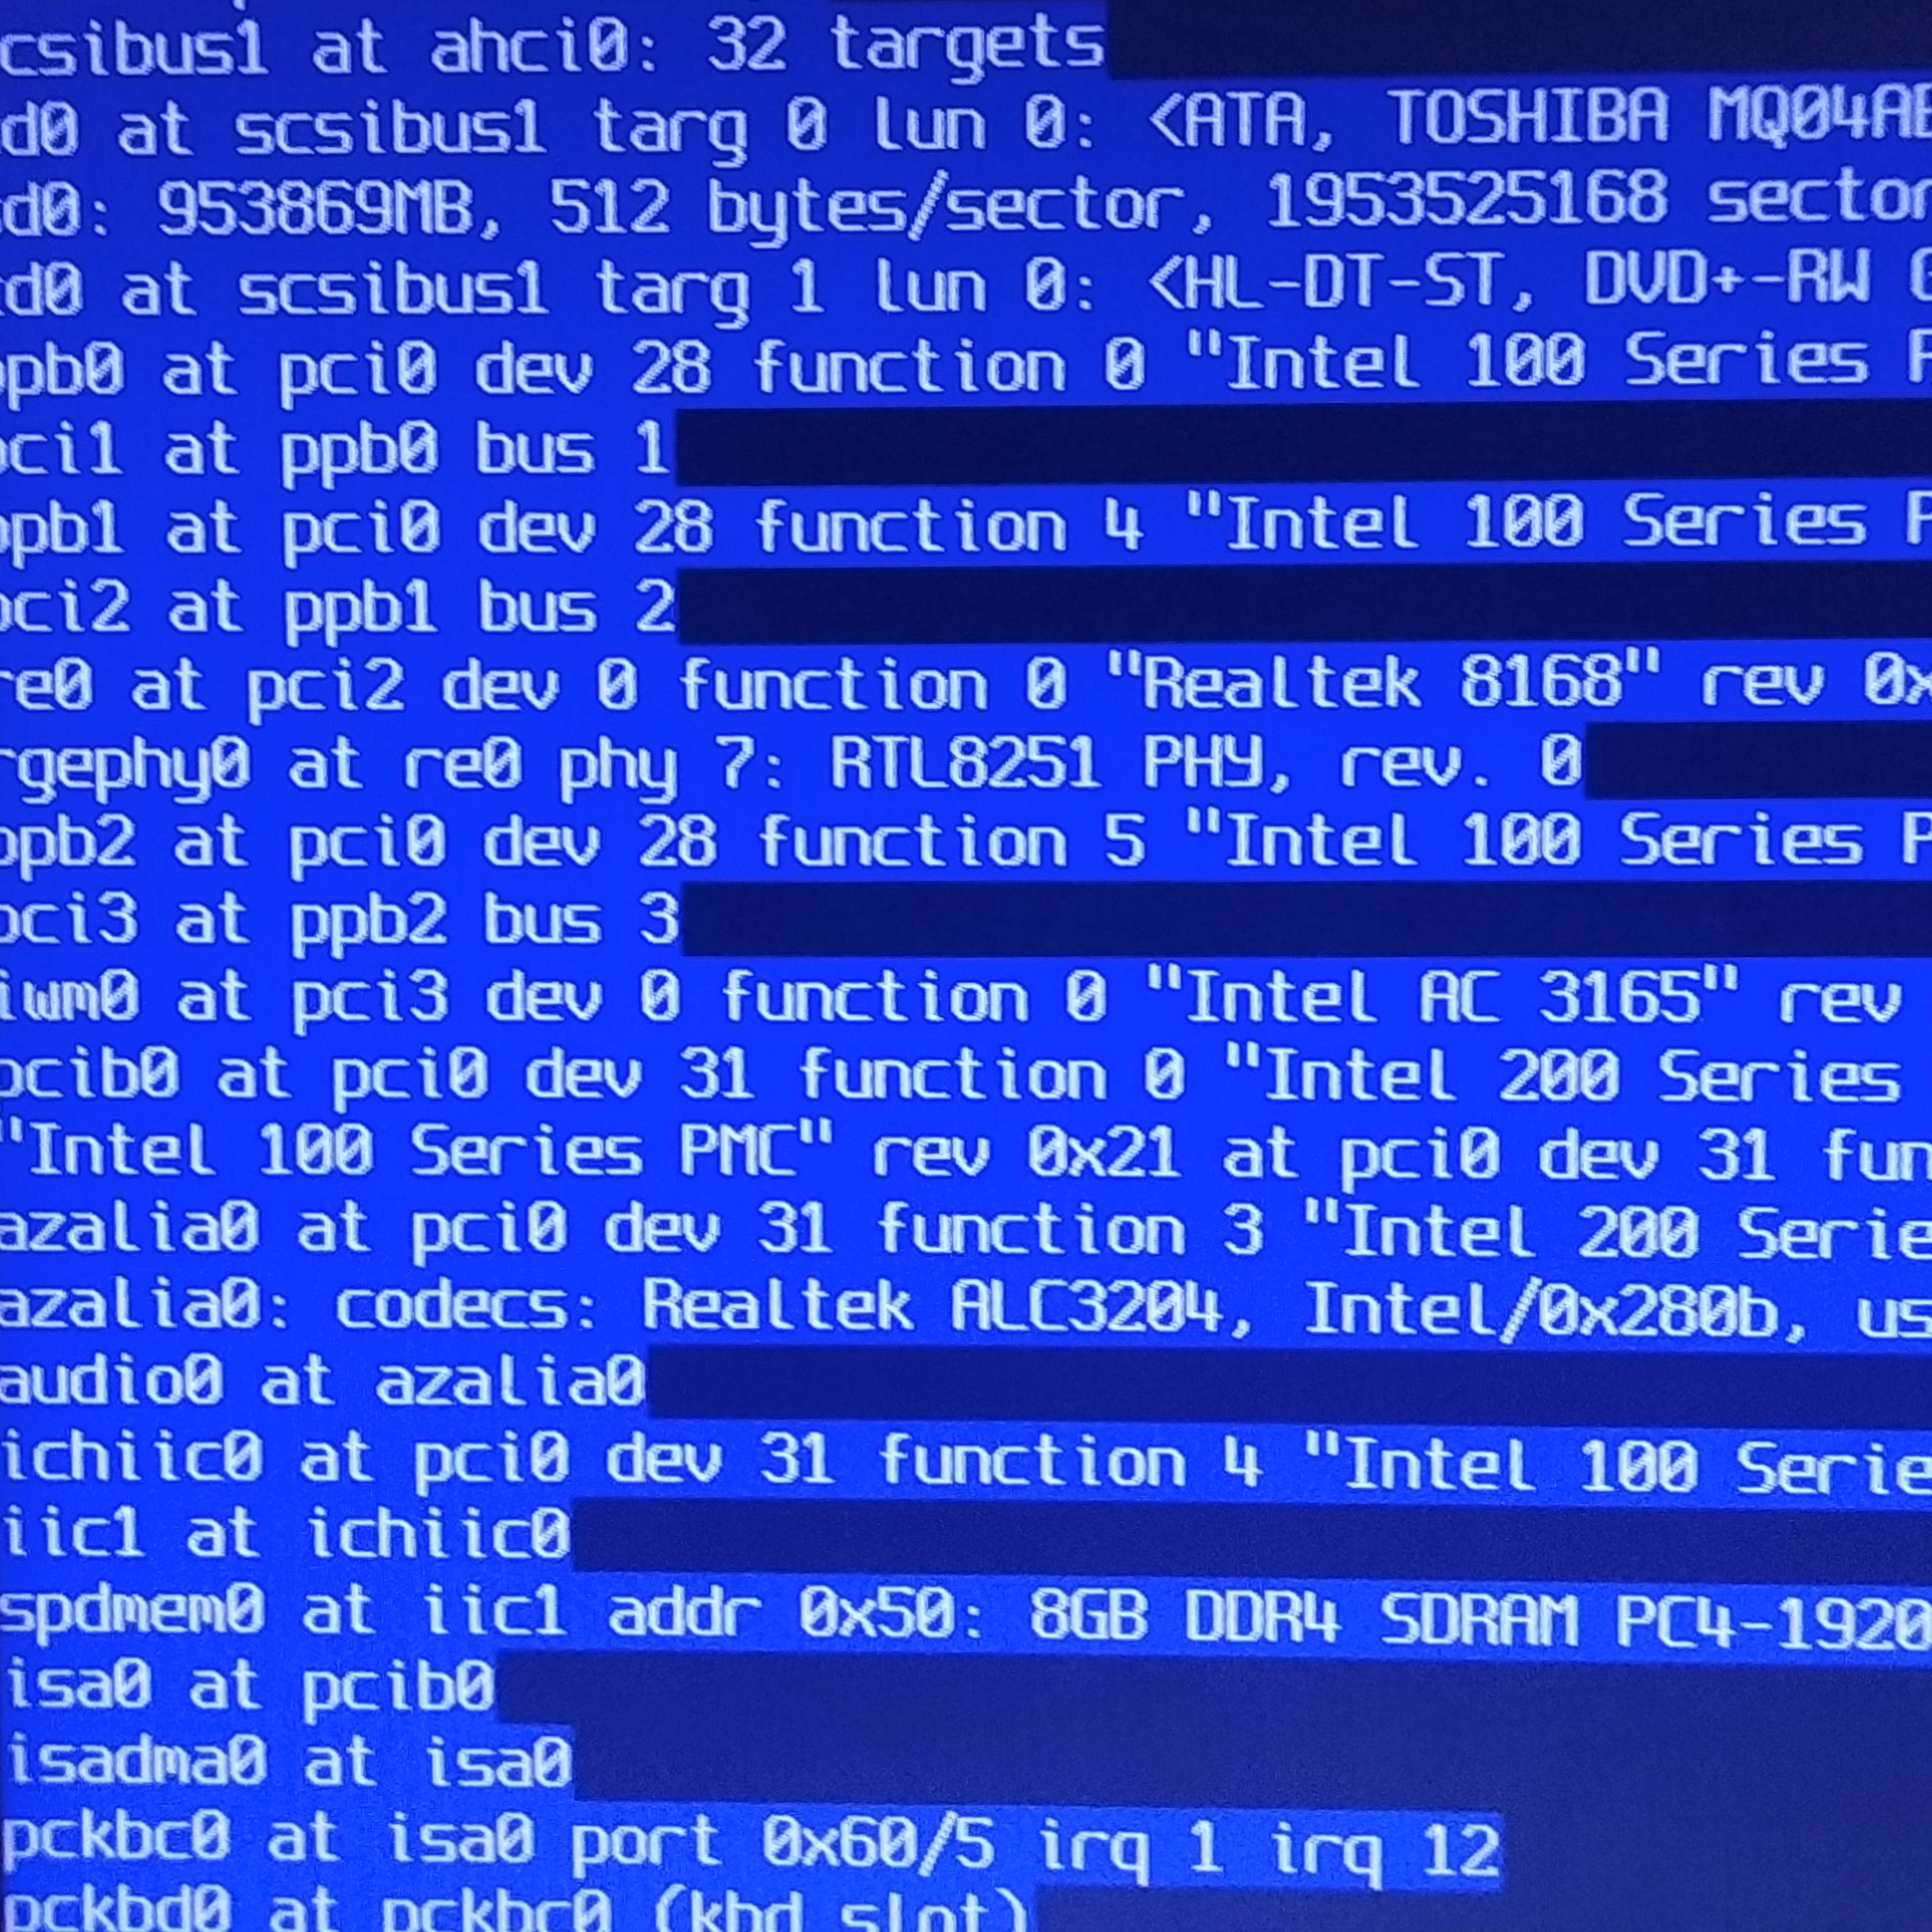
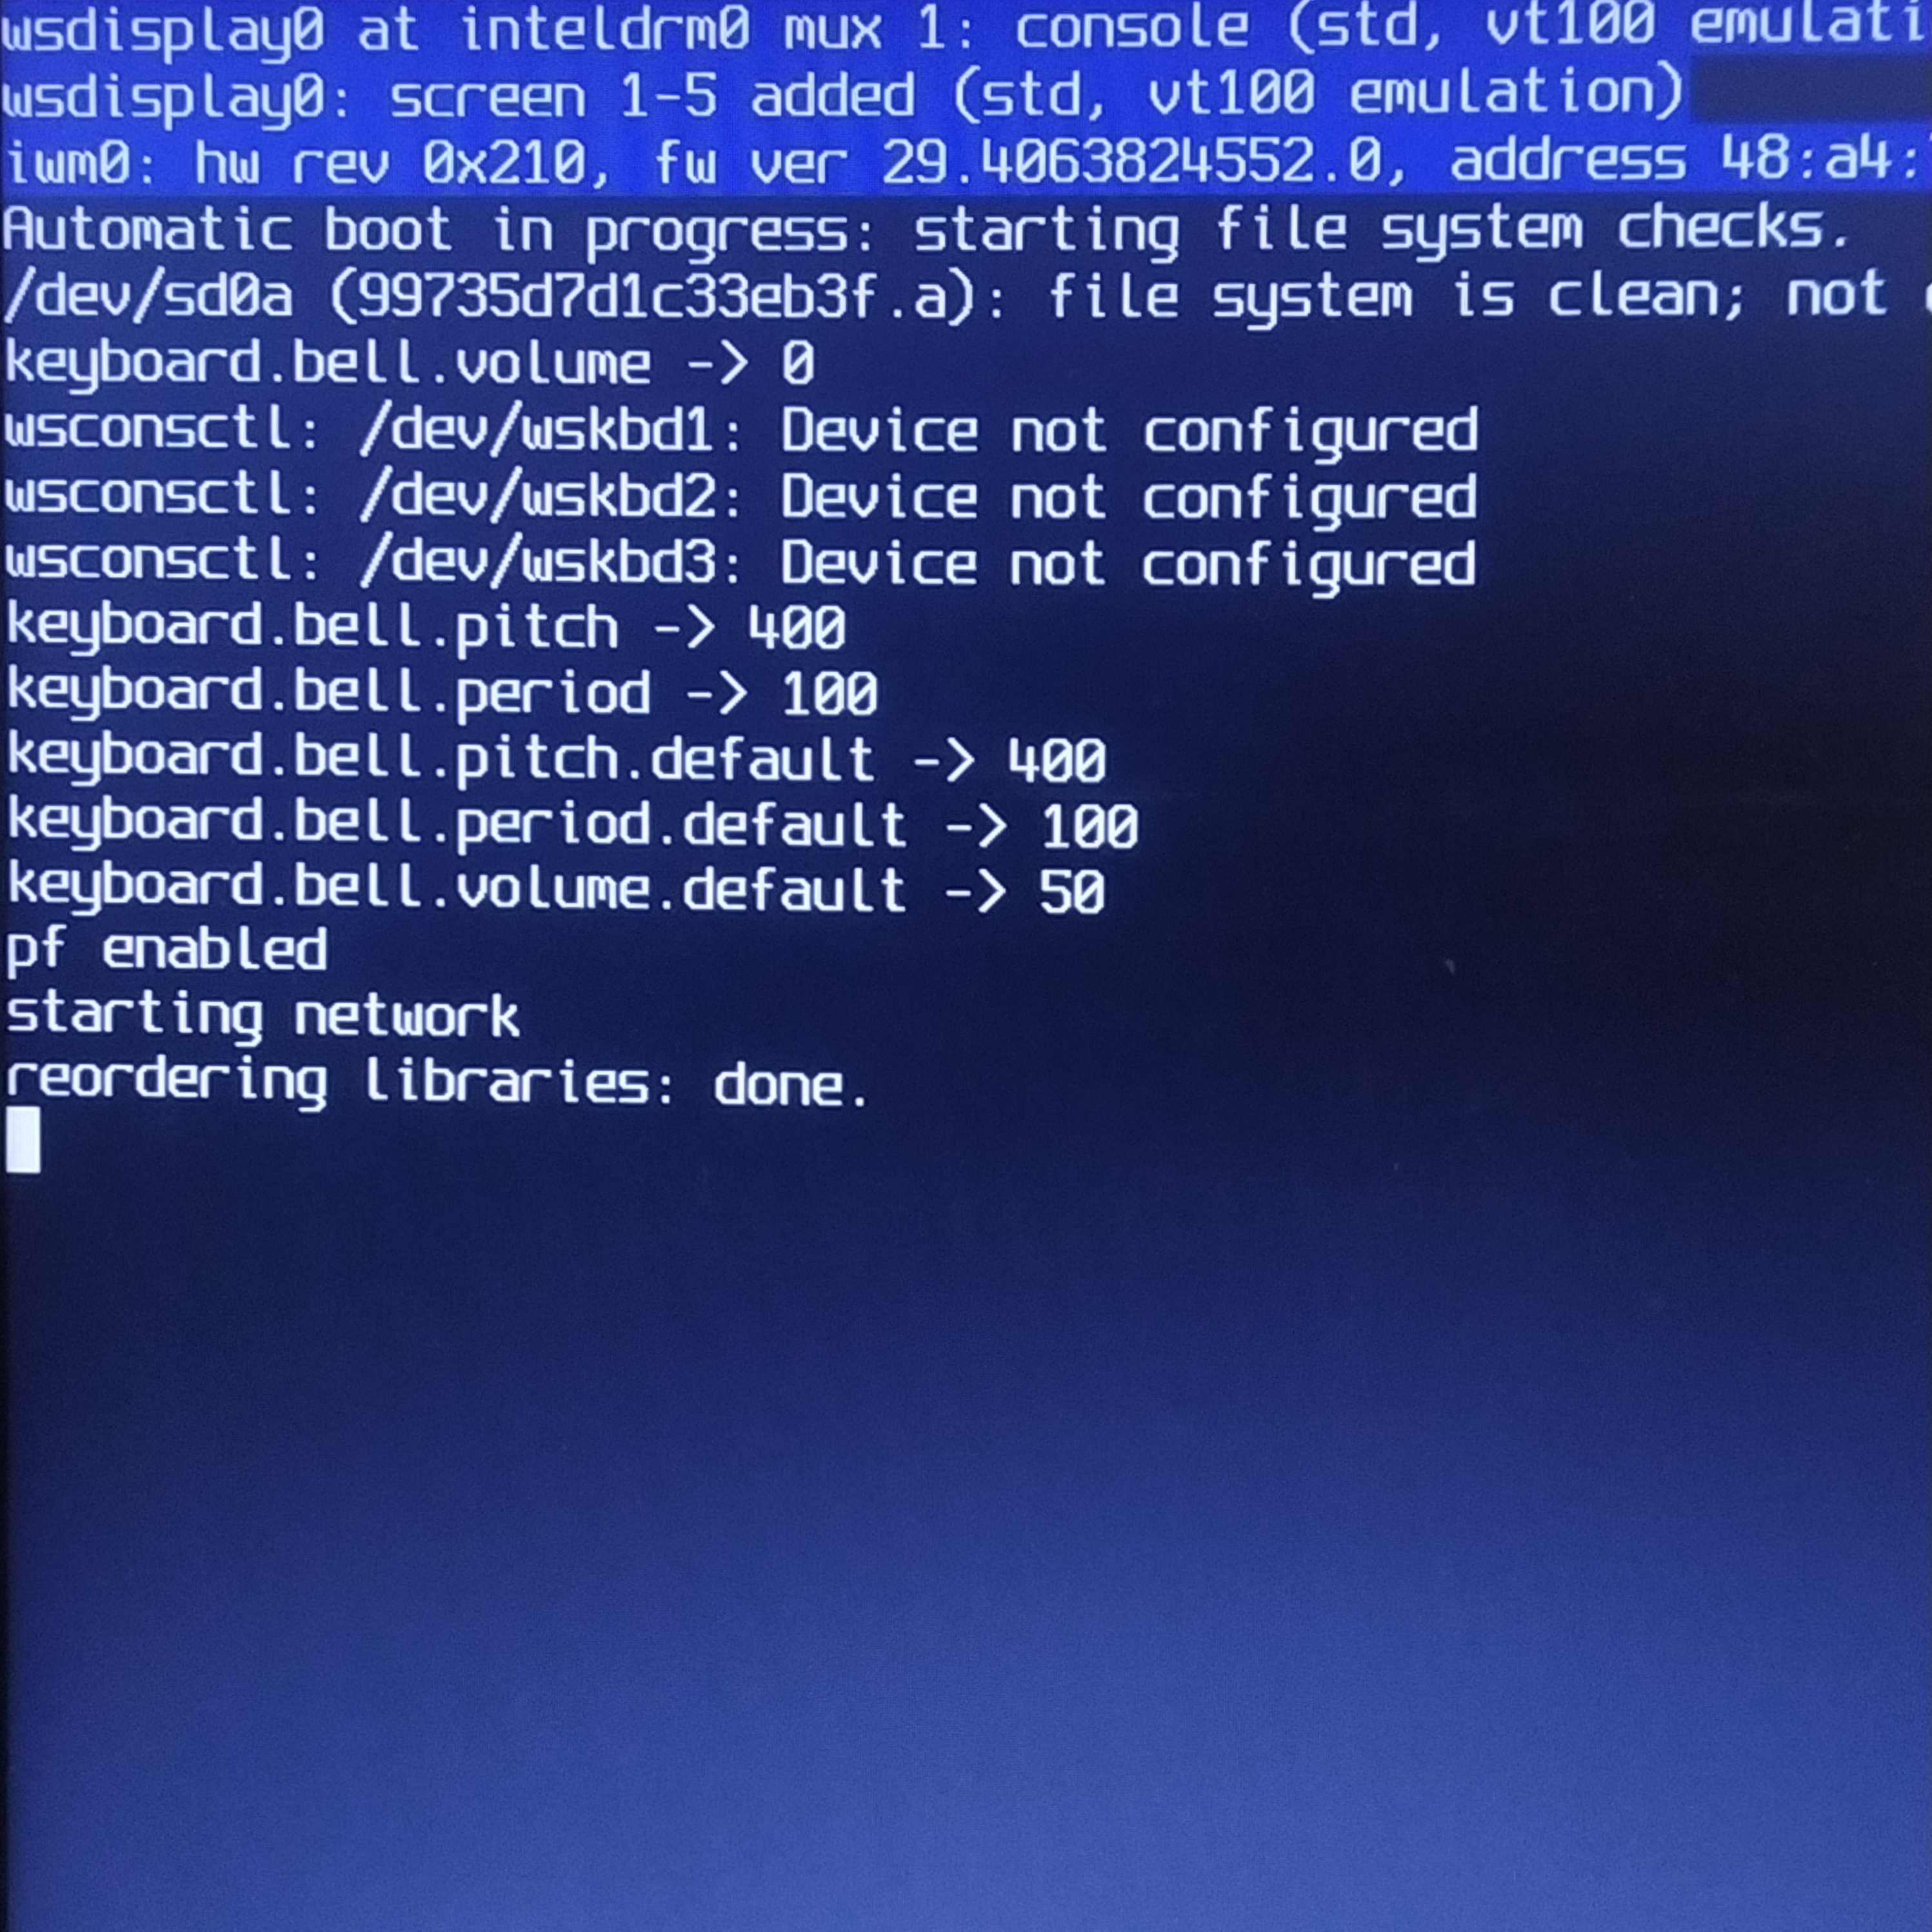
Hello OpenBSD
Booting it up for the first time felt like hacking the Pentagon from the movies, as it prints all the dmesg-es. On a first look, it looked like it an operating system stuck in the 90s (in a good way :).
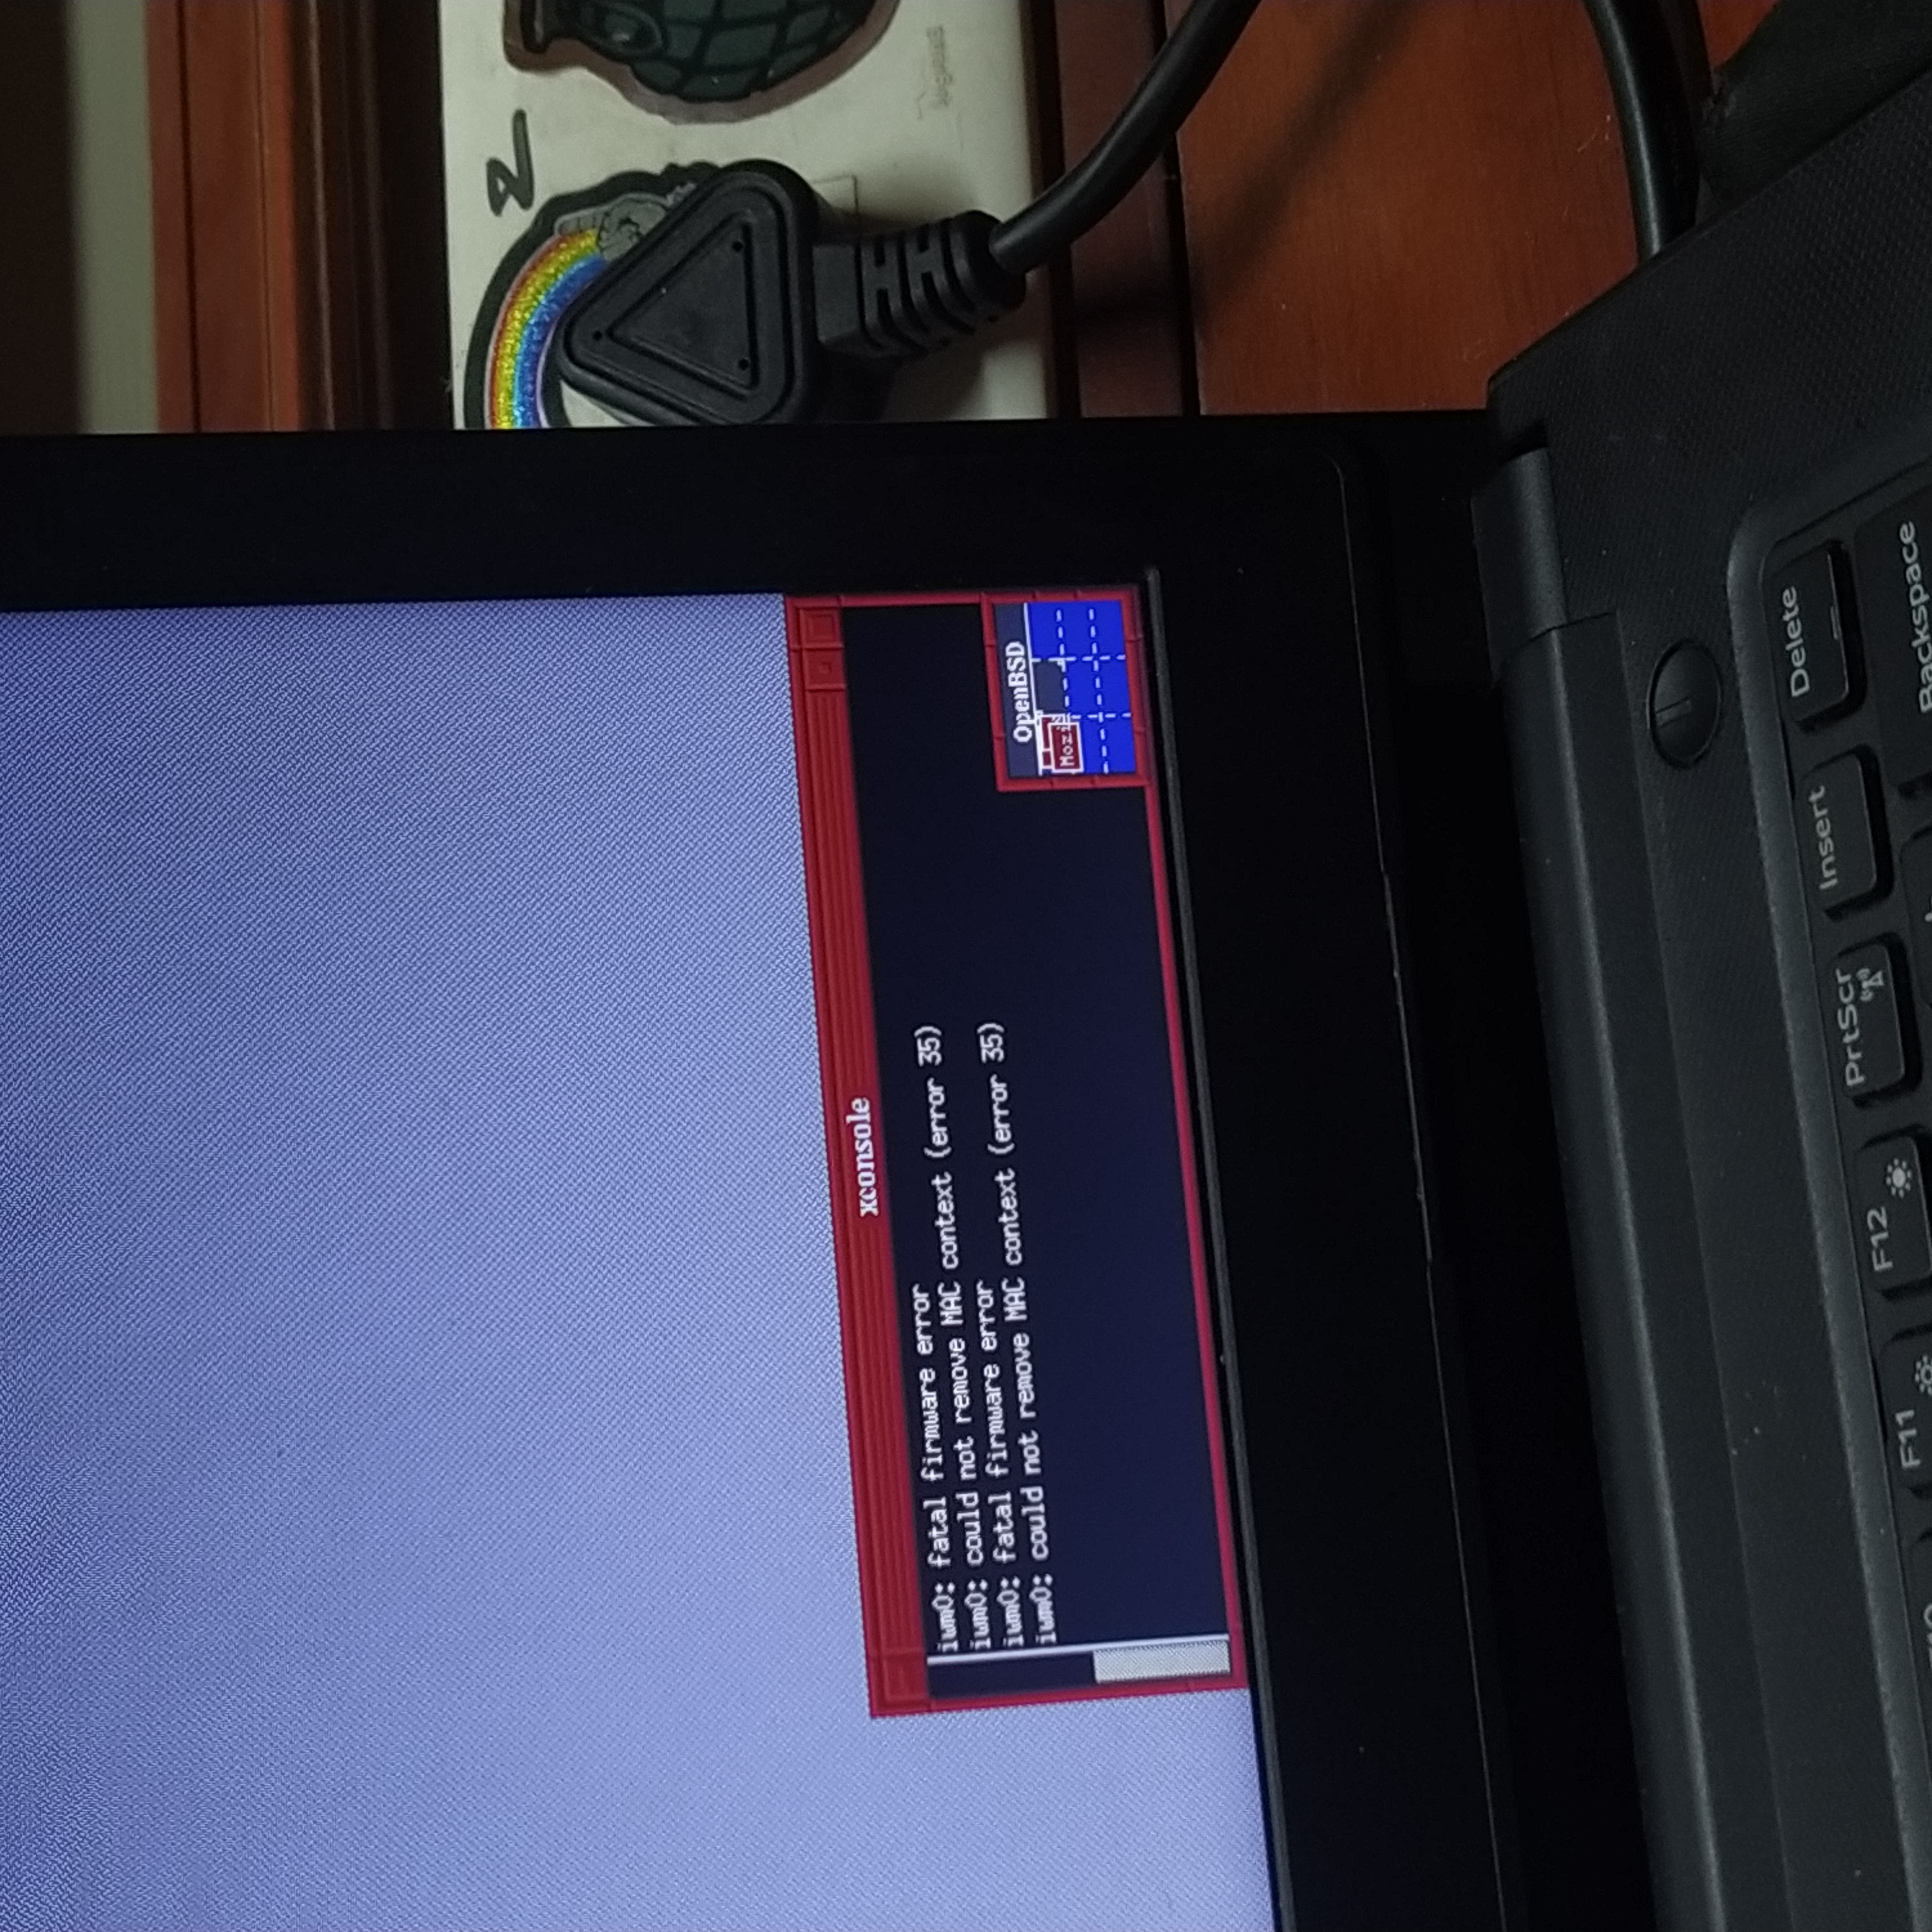
Getting Wi-Fi
By default, OpenBSD doesn’t distribute firmwares along with the kernel. So, there’s no Wi-Fi.
And there’s two ways to get around this:
- Install the firmware inside the ISO image before installation using fw_update, like you do when handling Raspberry Pis.
The official documentation says one needs an existing OpenBSD installation to do this, although I’m sure that it can be somehow done from Linux, as well.
- Download the firmware package, put it on a drive, plug it in and then install it using pkg_add- the package manager.
I didn’t know that I didn’t have the firmware for WiFi until I booted it up, so I had to resort to the second method. And thanks to jmarhee’s article, I was able to get it done in no time.
My university Wi-Fi uses WPA 802.1X encryption with a WPA-EAP authentication scheme. I knew this one was going to be a hard nut to crack. But thankfully, I found a blog post from a fine gentleman named Azarus who explained how to do it. It was straightforward: I had to get wpa_supplicant, add the network-specific devices to its configuration file, manually authenticate with the device to connect to the access point and get a DHCP lease.
# wpa_supplicant -i iwm0 -c /etc/wpa_supplicant.conf
# dhclient iwm0
# ping 1.1.1.1
PING 1.1.1.1 (1.1.1.1) 56(84) bytes of data.
64 bytes from 1.1.1.1: icmp_seq=1 ttl=55 time=168 ms
I installed Firefox and sent out a Tweet:
Just booted into my OpenBSD and upgraded it to 7.1 and I must say, it was an exciting process. It was my first time updating a BSD. I did it through my university Wi-Fi, which I finally ended up doing after an hour's hack.
— aswin c! ☯️ (@chandanaveli) April 29, 2022
Maybe I should write a blog about the experience so far.
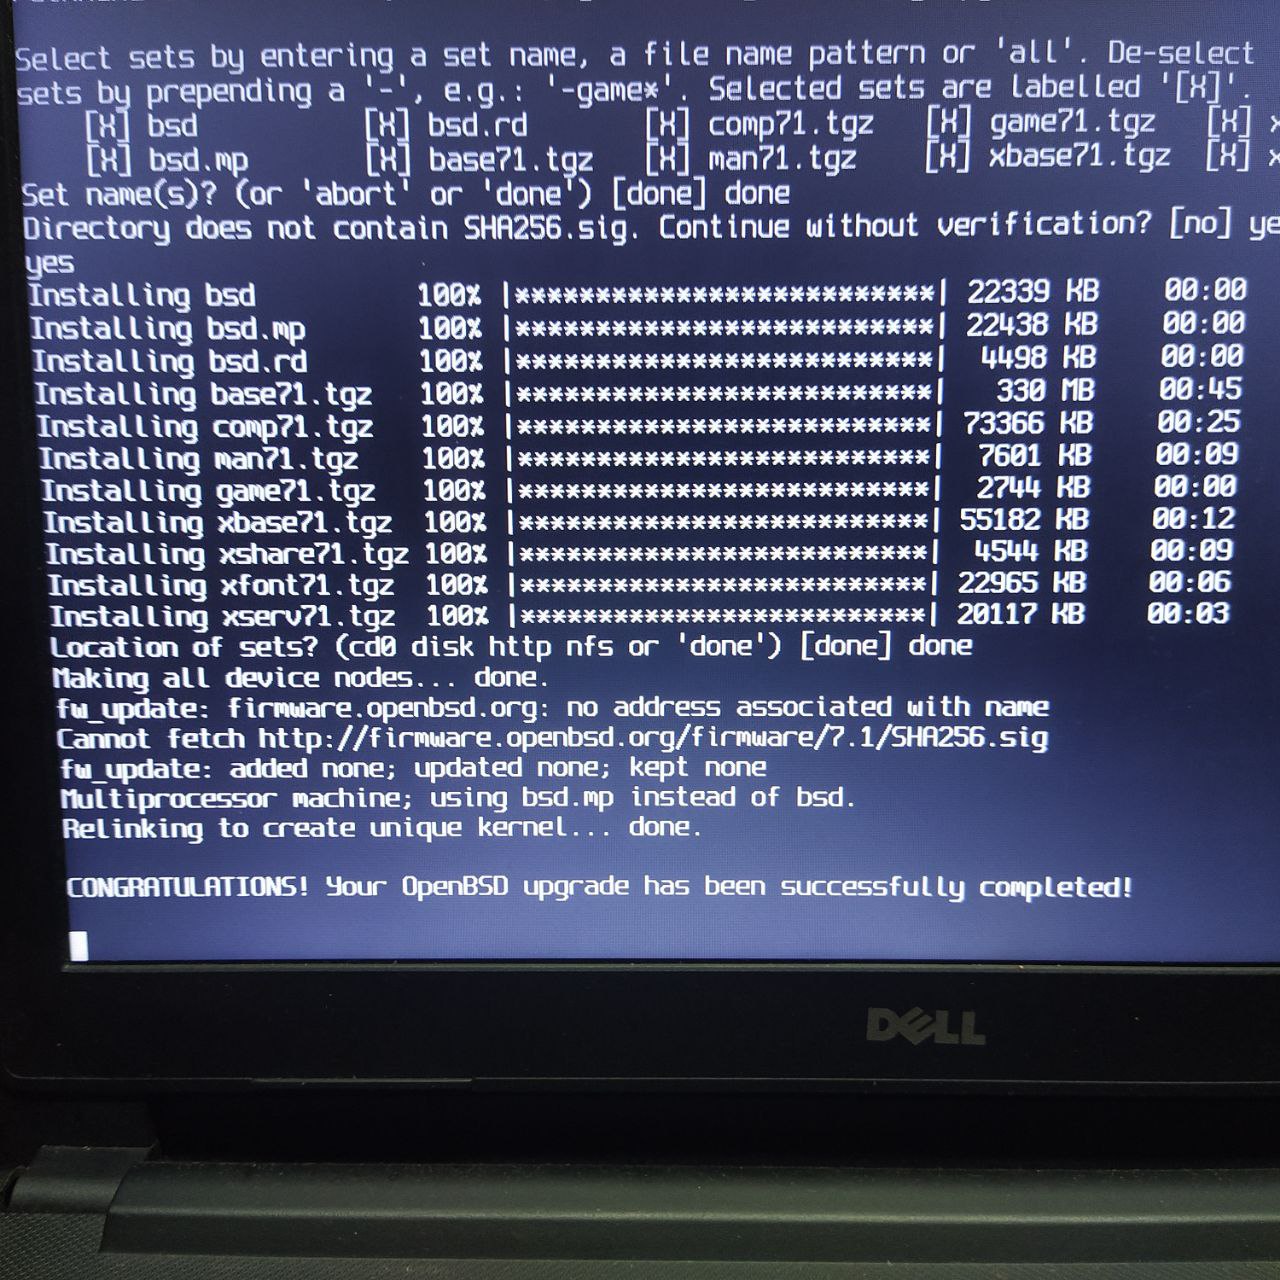
Updates
The OpenBSD ecosystem is much fabled and praised when it comes to many things, especially in handling updates as it offers easy rollbacks and many other features.
Recently, OpenBSD 7.1 had come out and the upgrade process was flawless:
cwm- the calm window manager
Even before diving into BSDs, I had come to know about cwm from a blog written by one of my Twitter friends who runs OpenBSD. So, cwm was definitely on my radar.
cwm is pragmatic: you write your configuration down in .cwmrc and you load it up. And
the key bindings can be tweaked and it is as easy as changing the bindings in vim.
And this was when I had my first experience with the quality of OpenBSD’s manual pages. When it comes to tweaking configuration files of software I just installed, I usually seek refuge in some blog post written for laymen. In this case, information about the keybindings, how to change them, and the notations that are used for the special keys- all were written in plain English in the manual page for cmw.
Experience
The overall experience has been great - I learned a lot about GPT, UEFI, firmware and many other things along the way. I plan to keep updating this blog post if I run into something that’s hard to do or is just interesting, so I can have one place to keep all of my thoughts related to my experience with OpenBSD.
For a person looking for a hobby OS or just some fresh air, I’d totally recommend OpenBSD!
Anyway, if you want to learn about UEFI, BIOS, MBR, dual booting, bootloaders, disk partitions and other related shenanigans, I suggest you to try dualbooting Linux and OpenBSD with GRUB.
— aswin c! ☯️ (@chandanaveli) January 4, 2022
I think, there literally no other option more worse than this.
It'll teach you everything.